Start Doing 2D Art
Can you barely draw stick figures? Do you want to change that, and are you ready to put in the work? Well, if you want to and you are, then read on.
I believe that anyone who has the motivation, focus, and determination to do the work, can learn how to draw. It will take time to get good though — as it is with most stuff. Learning to draw is no different than learning any other skill. If you don’t believe me, then please go ahead and check out Jonathan Hardesty’s “Journey of an Absolute Rookie”. Warning, it might blow your mind! Remember, you don’t have to become the most amazing illustrator that ever lived who can paint magical landscapes with her eyes closed…in the dark…with her feet.
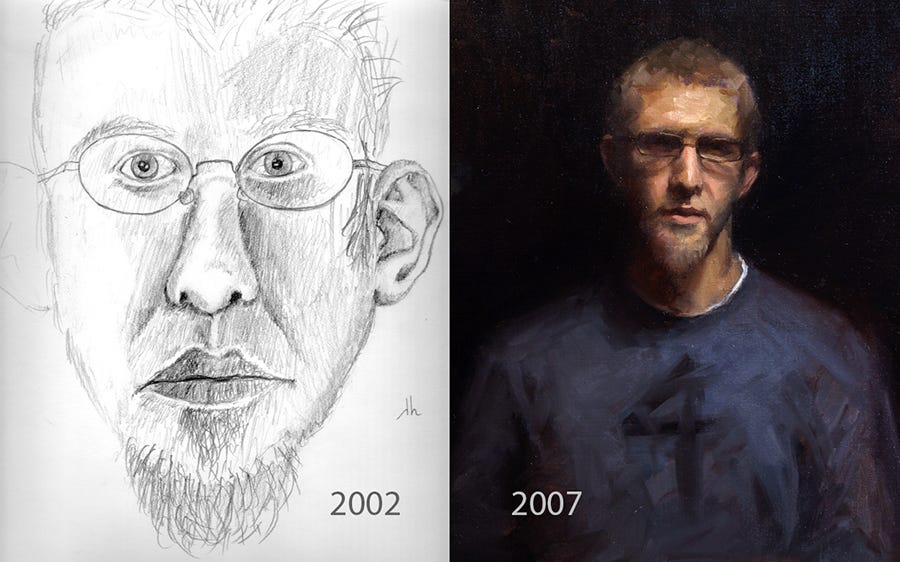 |
| Jonathan Hardesty’s “Journey of an Absolute Rookie”. |
Listed below are a bunch of tips, exercises, and resources that I have tried out and used (for the most part), which I recommend you also check out. The most important advice though, is DON’T GIVE UP!
Always the Fundamentals
Ten years from now when you are making amazing art you will most likely still be practicing the fundamentals if you are still serious about improving your skills as an artist. To keep it simple I have divided the fundamentals into four areas which are: Anatomy, Perspective, Light and Color, and Composition. If you have never done any 2D art whatsoever, I think a good idea is to check out “Drawing on the Right Side of the Brain”, by Betty Edwards. It’s a great book to start your journey with.
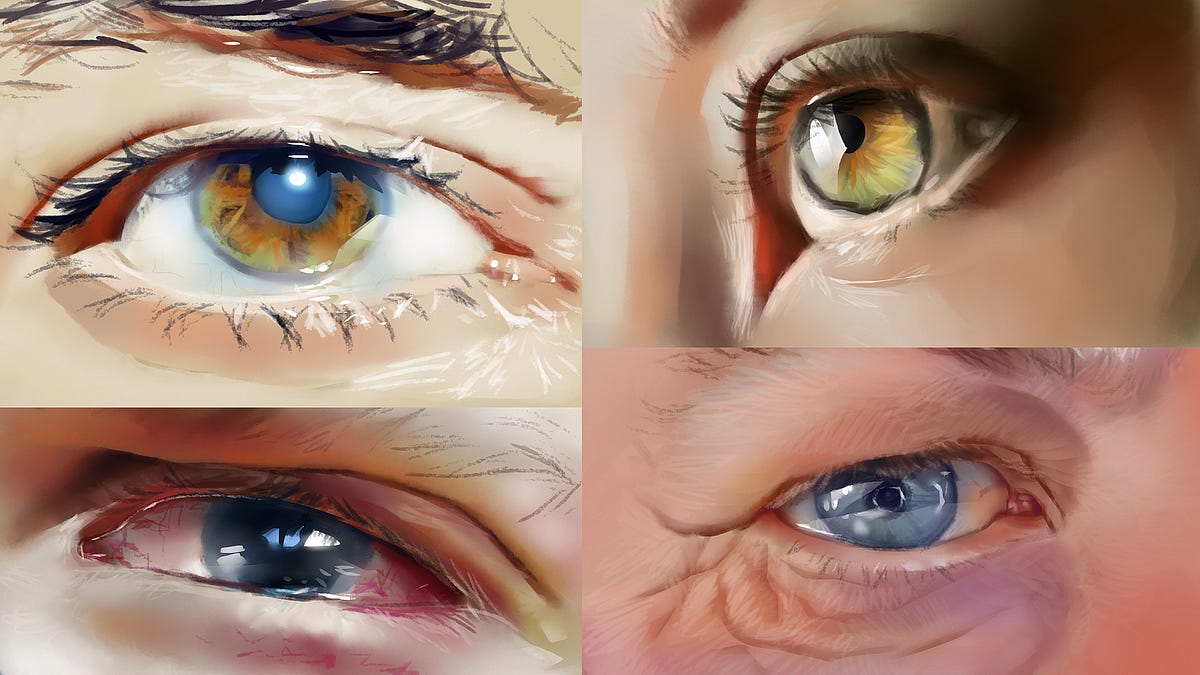 |
Some eye studies I have done from photos. |
Anatomy
You will most likely often be drawing people, or at least something people:ish. This is quite inevitable. Even if you decide to become a landscape painter you might want to throw in a little silhouette of a human in your painting. Including a person in your painting is a great way to establish a sense of scale. Practicing anatomy is essential for any artist.
Tutorials
Prokos website Check out his YouTube channel for free videos.
Anatomy Quick Tips by Sinix Design on YouTube.
Books
Figure Drawing: Design and Invention, by Michael Hampton.
Anything you can find by Andrew Loomis
Perspective
A basic understanding of perspective drawing is very important to have. Even if you are going to be drawing characters exclusively you should know how to correctly place a character in an environment and what foreshortening is. In the beginning, it’s best to focus on 1- and 2-point perspective drawing and drawing cubes in space will help a lot!
Books
Perspective made Easy by Ernest R. Norling (This is a must-have)
Basic Perspective Drawing: A Visual Approach by John Montague
I’d start with “Perspective made Easy” then look at YouTube for perspective drawing tutorials.
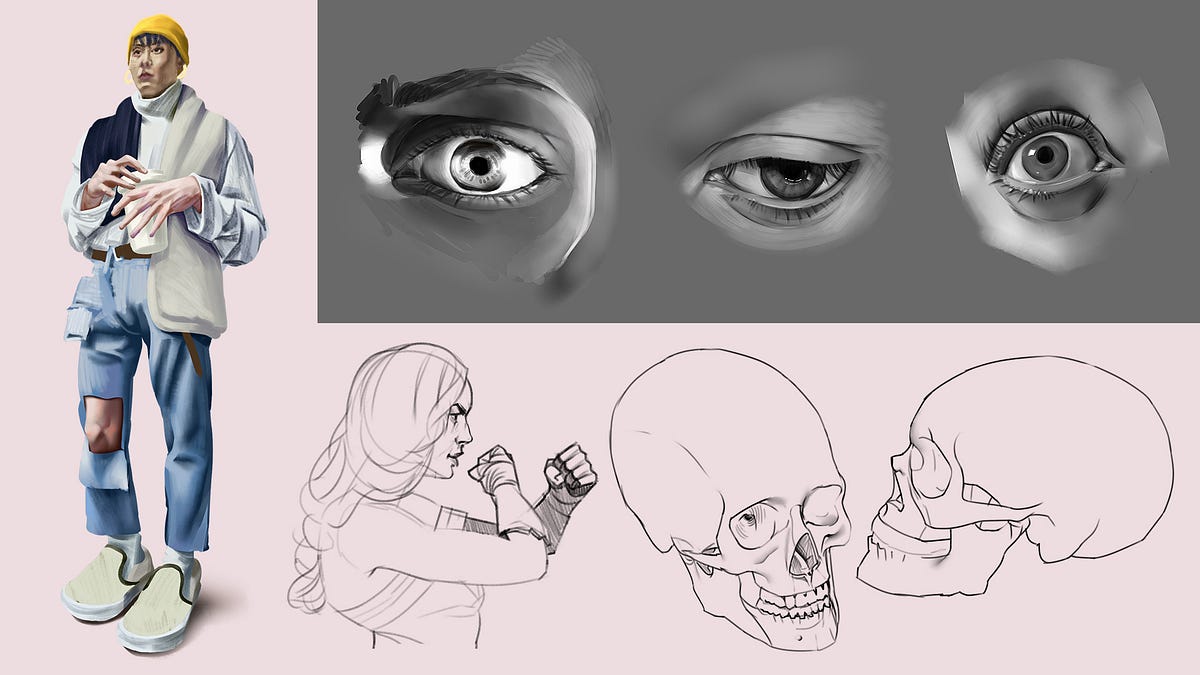 |
| More studies that I’ve done from photos and from life. |
Light and color
Light and color is a huge subject and you should save color for later on. Keep it simple and try to break down, whatever it is that you are drawing, into 3–5 tones. Working with color differs a lot depending on if you use traditional means like painting with oils vs painting digitally. The former uses a subtractive color system (physical colors where light is absorbed and reflected: Cyan, Magenta, Yellow, and Key/Black) while the latter uses an additive color system where light mixes together to create colors (light: Red, Green, and Blue).
Tutorials
Learn digital painting for free at Ctrl+Paint
A lot of good stuff over at James Gurney’s blog (mainly about traditional painting, but it applies to digital painting as well)
Check out the course Fundamentals of Lighting by Sam Nielson
Books
Color and Light: A Guide for the Realist Painter by James Gurney
How to Render: The Fundamentals of Light, Shadow and Reflectivity by Scott Robertson
Composition
Composition has to do with how you arrange the visual elements to create a structure in your painting. It’s the basis of layout design. There are some classical methods to start with if you are totally lost, although I would take them with a grain of salt. James Gurney has written an excellent series of posts on the golden mean and you could also google the “Rule of Thirds” to familiarise yourself with it.
Books
Picture This: How Pictures Work by Molly Bang
I’d also check out Scott McCloud’s book Making Comics
Tutorials
Blender Guru’s “Understanding Composition” YouTube video
I would urge you to study photographers' works, comics and movies as well to learn about composition.
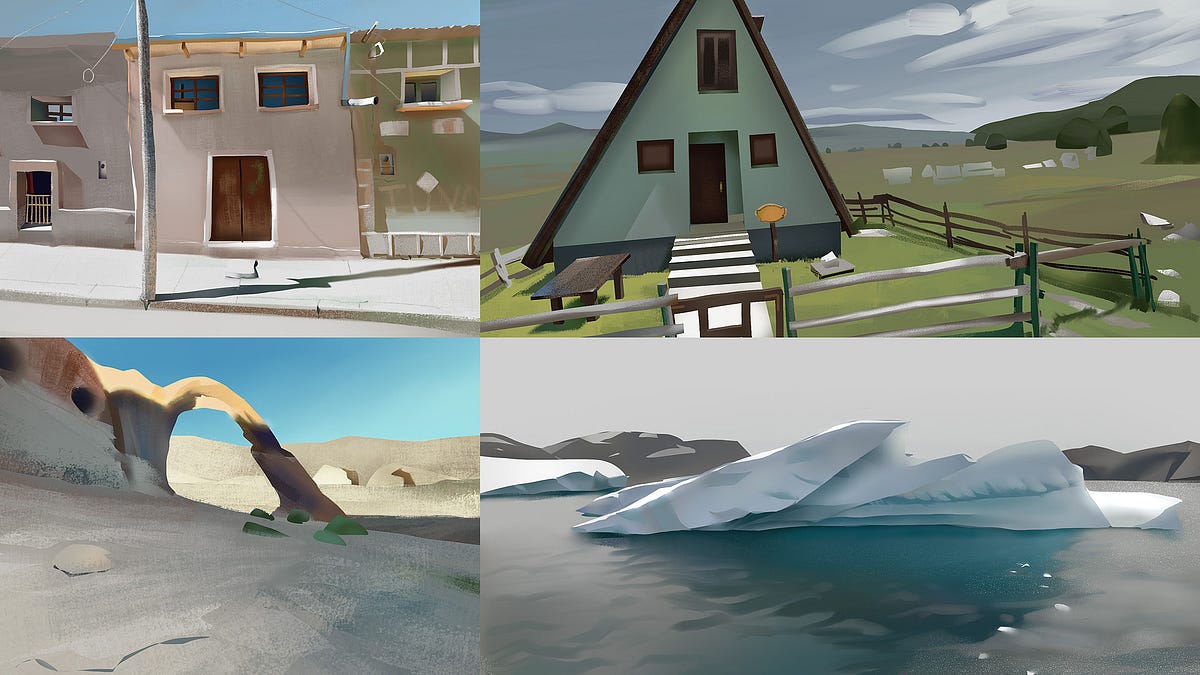 |
| Virtual plein air. My buddy and I did a daily digital landscape painting for 100 days. |
Drawing exercises
- Practicing drawing cubes in space is a great way to better understand perspective. You can start off with any kind of cube-shaped form, just place it in front of you and draw it as you see it. Then imagine it from a different angle and draw that as well.
- Also practice drawing other simple 3D shapes in space (cylinders, spheres, and cones) from different angles. Try to break down complex shapes and volumes into these basic shapes — boxes, cylinders, cones, and spheres. For this exercise, you can trace over photos.
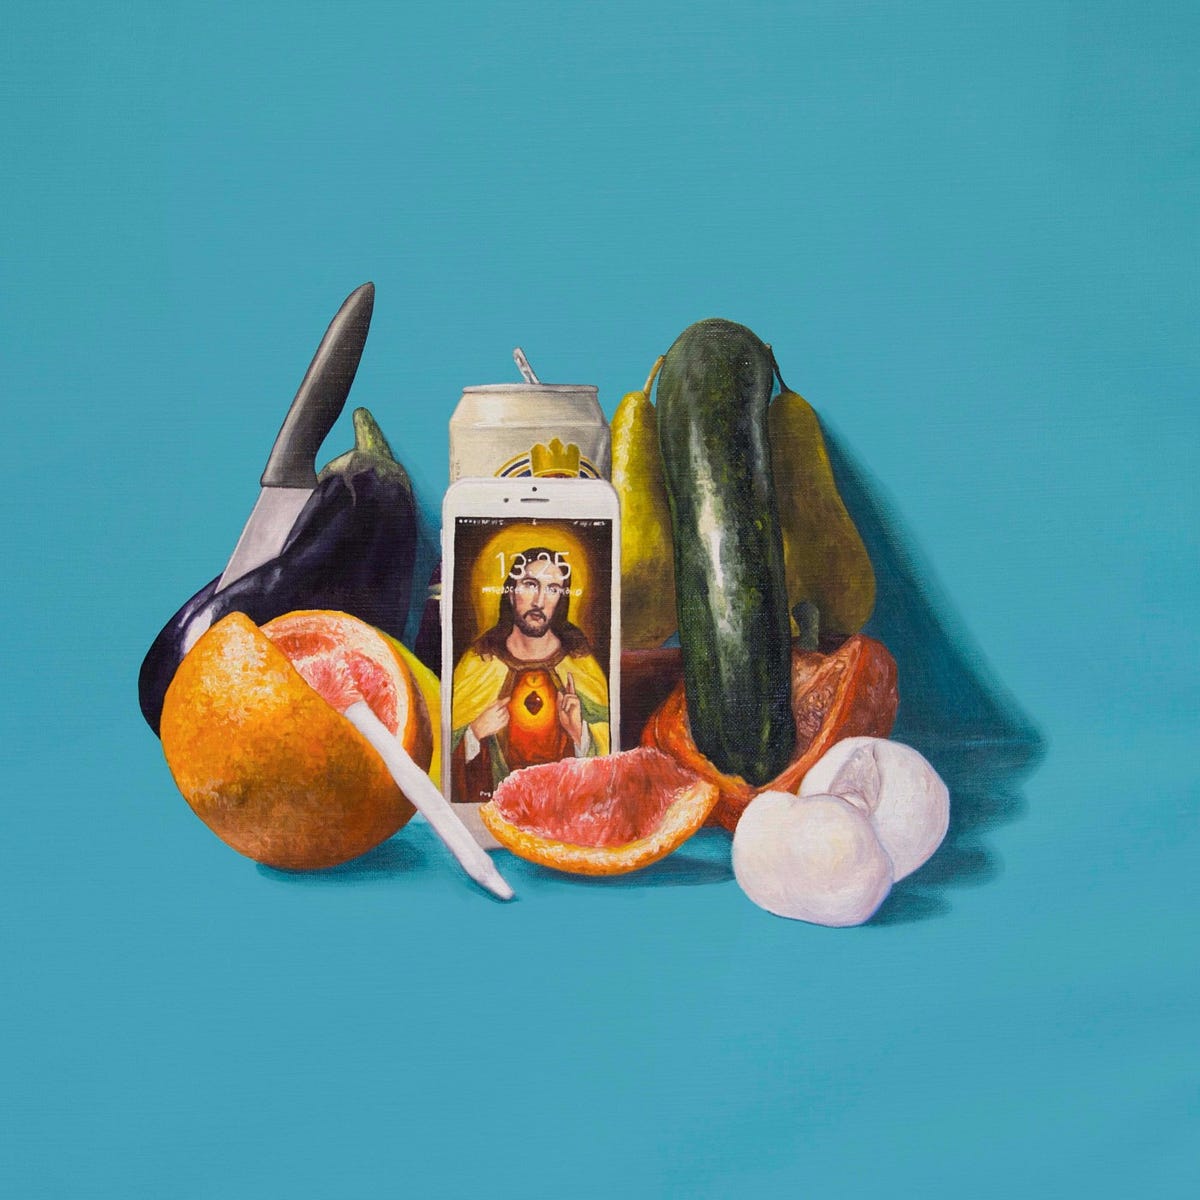
- Do a lot of life drawing! Set up a still life and draw it from different angles. It’s easy enough to do at home. If you are going to practice shading it’s a good idea to set up your still life in a place where you can control the lighting.
Still life by Nicolás Romero. - Draw a self-portrait with the help of a mirror. If this is too intimidating at first, then start from a photo. Try to do a daily self-portrait for 30 days! Andrew “Android” Jones did a self-portrait every day for 1000 days.
- Draw poses. Here’s a great tool online for just that. Keep them loose and don’t spend much time on each one, perhaps a minute at most. Try to capture the movement and flow.
- Digital landscape painting, also known as “virtual plein air”, is a great way to practice composition and painting. If you are starting out, you could do them in grayscale. I would keep the studies a maximum of one hour long. You’re not supposed to get caught up in details. You could use something like Instant Street View to find reference pictures to practice from.
Some General Tips
- Bring a sketchbook everywhere you go. Make a habit out of sketching anything and everything.
- When you’ve been working on a piece for a long time, it’s sometimes hard to spot mistakes you’ve made. Taking a break and returning with fresh eyes is one way to tackle this. Another way is to flip your illustration if you are painting digitally, or use a mirror if you are painting using traditional methods.
- Use reference images! The pros do this. If I’m not mistaken, the famous fantasy illustrator Frank Frazetta claimed he did not use reference images. The rest of us do though. The trick is to have enough understanding of the subject you are drawing so that you can use the reference image as help and not have to be a slave to it. Here’s a couple of examples of awesome illustrators that used and use reference images: Norman Rockwell and Dan Dos Santos.
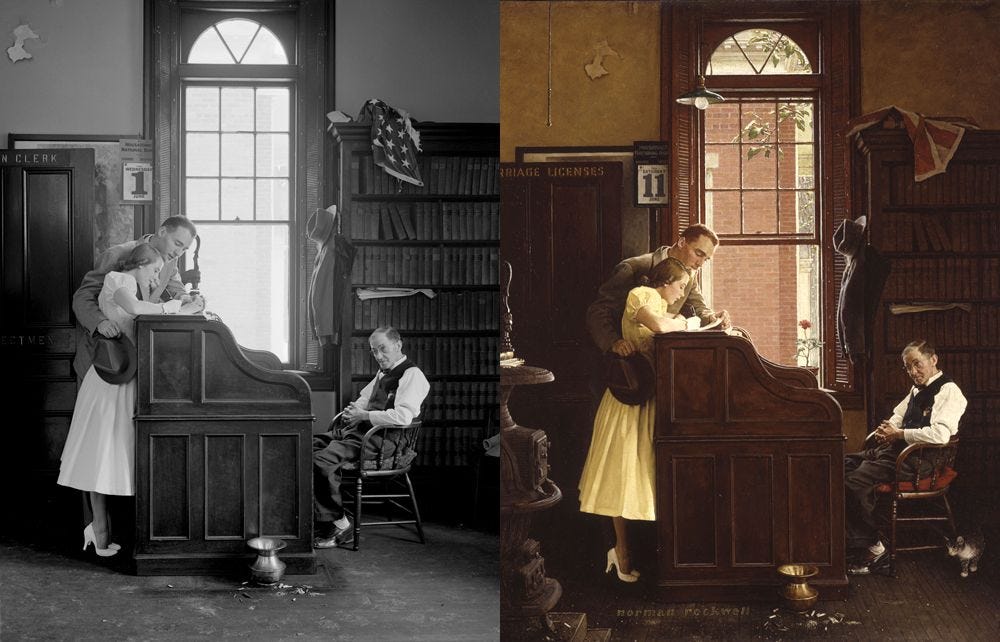 |
| Norman Rockwell used reference images. |
- I think it’s important to do studies, but if that’s all you do then you might get bored after a while. Start a personal project! If you’re having a hard time figuring out what to draw, then try this drawing prompt randomizer.
- A couple of tools that I think are really nice to have for practicing and referencing anatomy is a 3d anatomical figure and a skull. These can be quite expensive though and are definitely not must-haves. Just something to be aware of.
- Team up with someone else and learn together. It will help you stay motivated and you’ll have someone else to figure things out with. I’d search Reddit and perhaps Discord communities if you don’t personally know anyone that is also learning how to draw and on your level.
- I recommend using the standard round brush in Photoshop (or any other similar painting app) when starting out. It will do. In case you want to use some nicer brushes, I would check out Sam Nielson’s brush pack that you will find linked at the bottom of his blog post here.
Phew! That’s a lot of info, but you don’t have to try it all at once. You can try one or two exercises for a while, then come back to this article and do a couple of the others. Develop a process that works for you and that keeps learning fun!
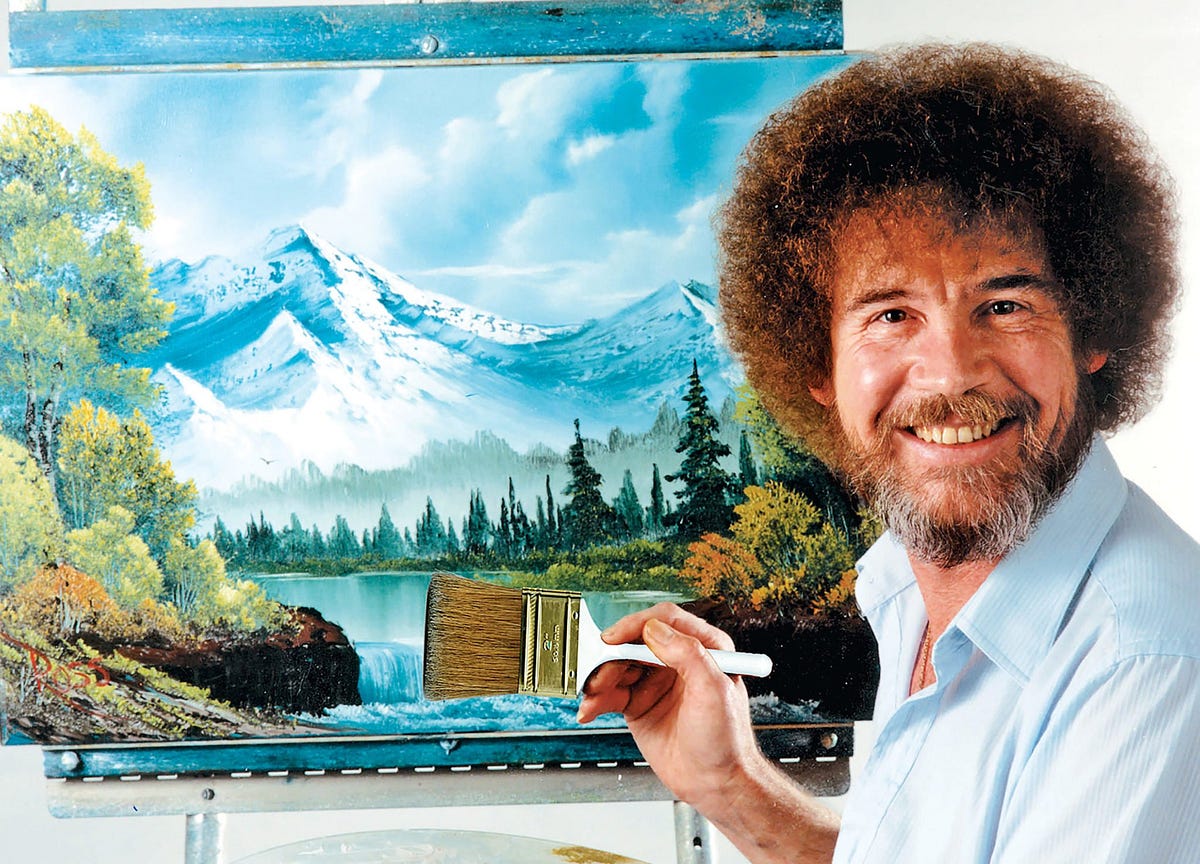 |
| Bob Ross believes in you! |
Good luck on your journey and sign up for our mailing list so you don’t miss any new blog posts! https://anananasstudio.se/sign-up
You’re more than welcome to join the anananas studio Discord and share your art if you want feedback or just hang out.

Comments
Post a Comment